How to Compress Images Online Without Losing Quality (Complete Guide)
If your website feels slow or your images are too large to upload, you’re not alone. Heavy images are one of the biggest reasons behind poor website performance, low SEO rankings, and a frustrating user experience.
The good news? You don’t need complicated software to fix this.
In this guide, you’ll learn why image compression matters, how to reduce image size without losing quality, and the easiest way to do it online for free.
Why Image Compression Matters for SEO
Image compression isn’t just about saving space — it directly impacts how your website performs.
When your images are too large, your site takes longer to load. And when your site is slow, users leave. Even worse, search engines like Google may rank your site lower.
Key benefits of compressing images:
- Faster website loading speed
- Better SEO rankings
- Lower bandwidth usage
- Improved mobile experience
In short: faster images = better rankings + more visitors
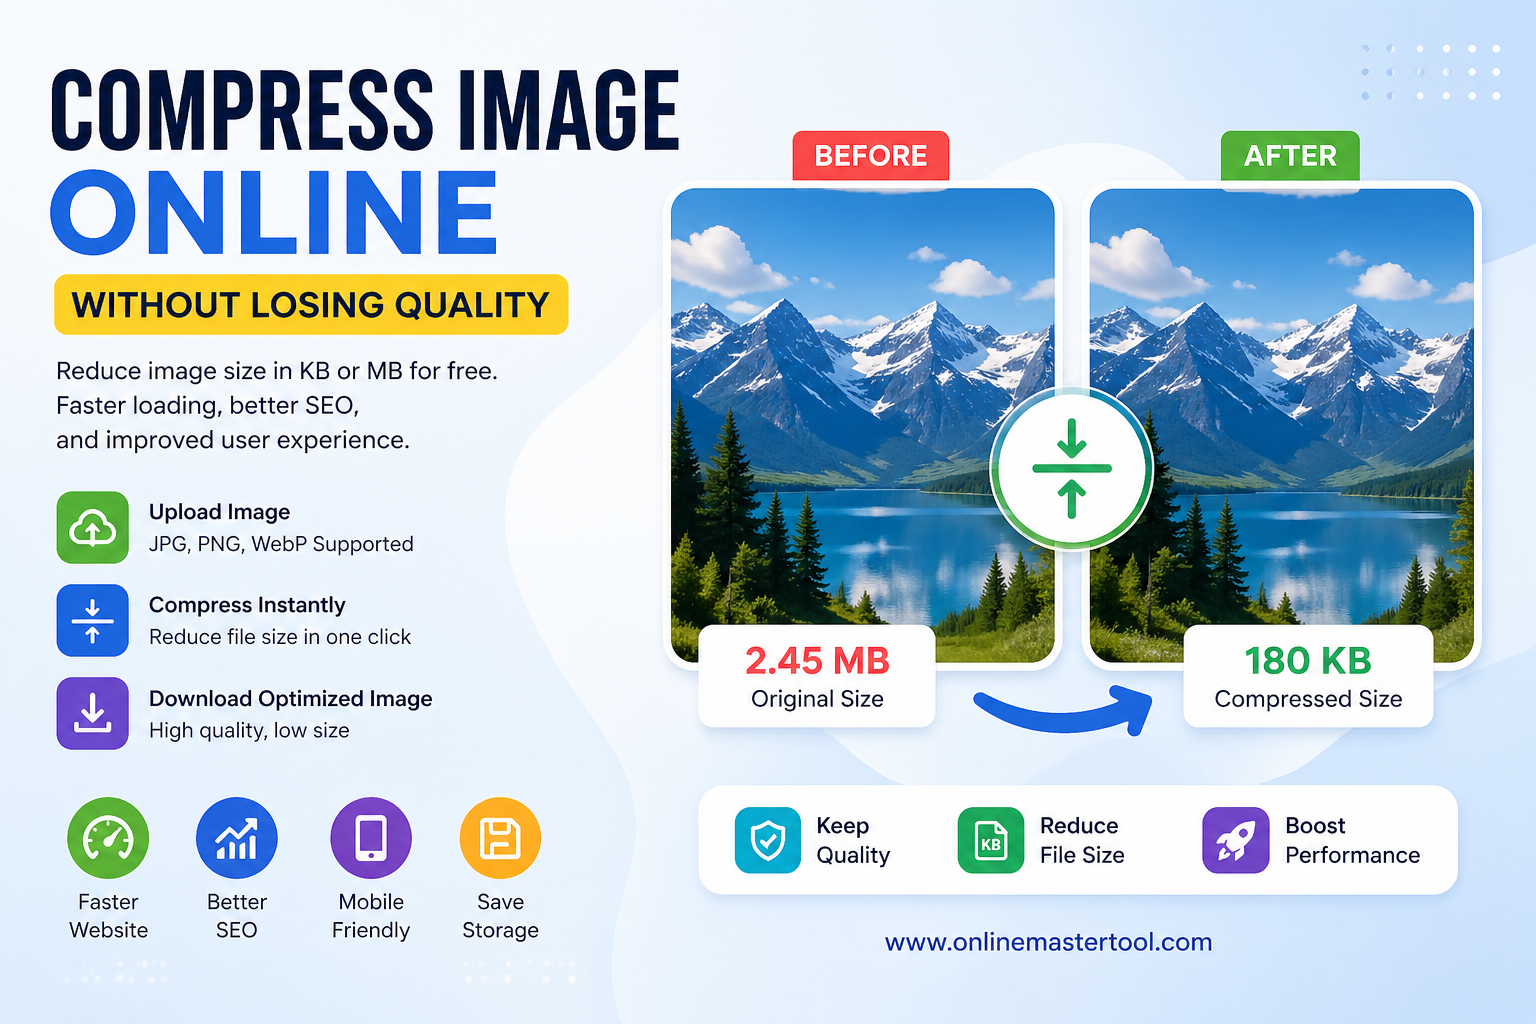
The Easiest Way to Compress Images Online
You don’t need tools like Photoshop or any heavy software. A simple online tool can do the job in seconds.
You can use this free tool:
https://www.onlinemastertool.com/compress-image
What this tool can do:
- Compress JPG, PNG, and WebP images
- Reduce image size in KB
- Maintain high image quality
- Process images instantly
It’s beginner-friendly and works directly in your browser.
Step-by-Step: How to Compress an Image
Follow these simple steps:
- Open the tool: https://www.onlinemastertool.com/compress-image
- Upload your image
- Select the compression level
- Click on “Compress”
- Download your optimized image
That’s it. Within seconds, your image size is reduced — without noticeable quality loss.
Compress Images to a Specific Size (50KB, 100KB, etc.)
Sometimes you need images under a fixed size — like for forms, exams, or website upload limits.
You can use these tools:
- https://www.onlinemastertool.com/compress-image-to-50kb
- https://www.onlinemastertool.com/compress-image-to-100kb
These tools help you:
- Reduce image size to exact KB limits
- Meet upload requirements easily
- Keep image clarity intact
When Should You Compress Images?
You should compress images whenever you:
- Upload images to your website
- Send images via email
- Post on social media
- Want to improve page speed
Basically, every image you upload online should be optimized first.
Combine Tools for Better Results
Compression alone is good — but combining it with resizing and cropping gives the best results.
Try these tools:
- Resize: https://www.onlinemastertool.com/resize-image
- Crop: https://www.onlinemastertool.com/crop-image
This ensures your images are not just smaller in size, but also perfectly optimized for display.
Pro Tips for Image Optimization
- Always compress images before uploading
- Use WebP format for best performance
- Keep image size under 100–200KB
- Avoid uploading unnecessarily large dimensions
These small steps can make a big difference in your site speed.
Frequently Asked Questions (FAQ)
1. Does compressing images reduce quality?
No. Modern tools use smart compression techniques that reduce size without noticeable quality loss.
2. What is the ideal image size for websites?
Usually between 100KB to 200KB per image is recommended.
3. Can I compress images for free?
Yes, you can use free tools like OnlineMasterTool to compress images instantly.
4. Which image format is best for the web?
WebP is the best for performance, followed by JPG.
Final Thoughts
If you want a faster website, better SEO, and smoother user experience, image optimization is not optional — it’s essential.
Using a simple tool like:
https://www.onlinemastertool.com/compress-image
You can quickly reduce image size without sacrificing quality.
For best results, combine compression with resizing and cropping — and your website will thank you for it.